
Description
buy Golden Teacher Mushrooms online
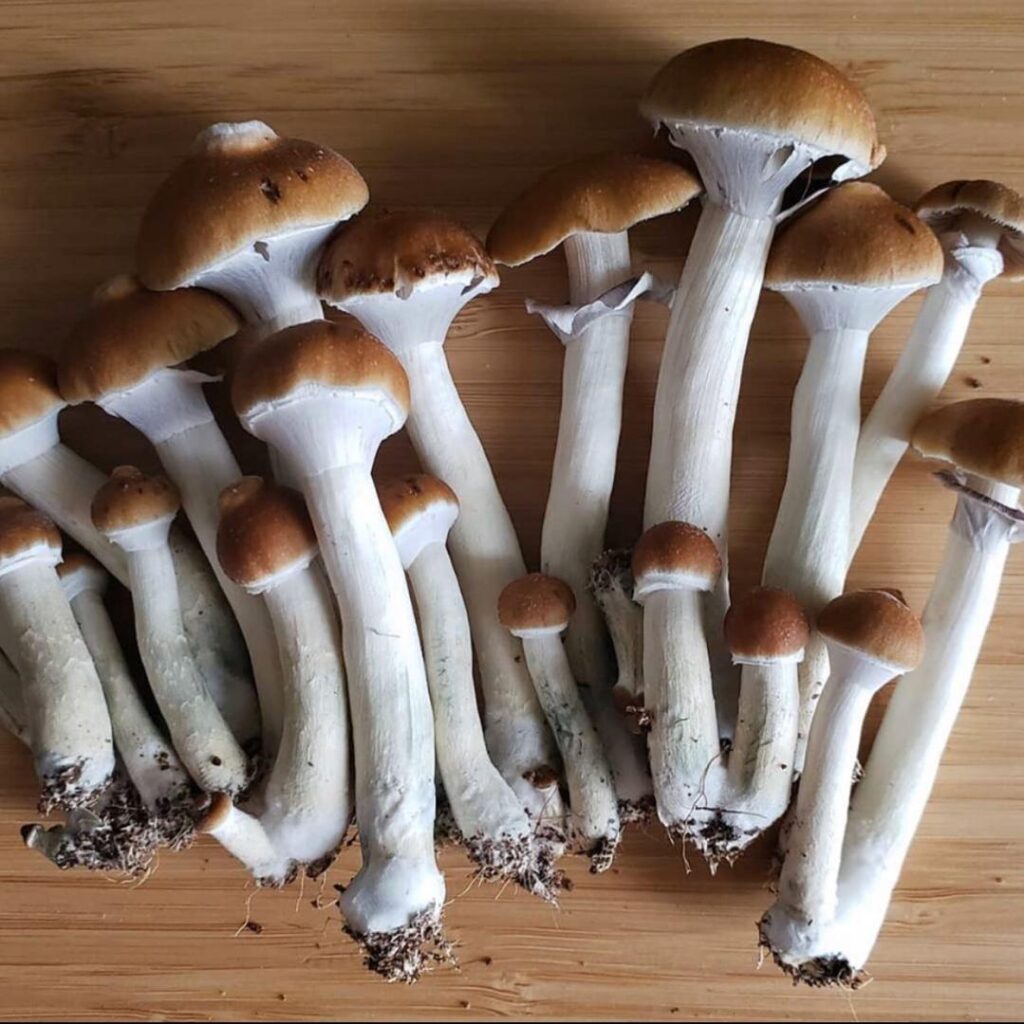
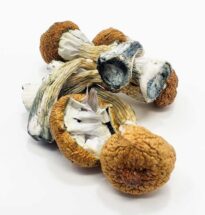
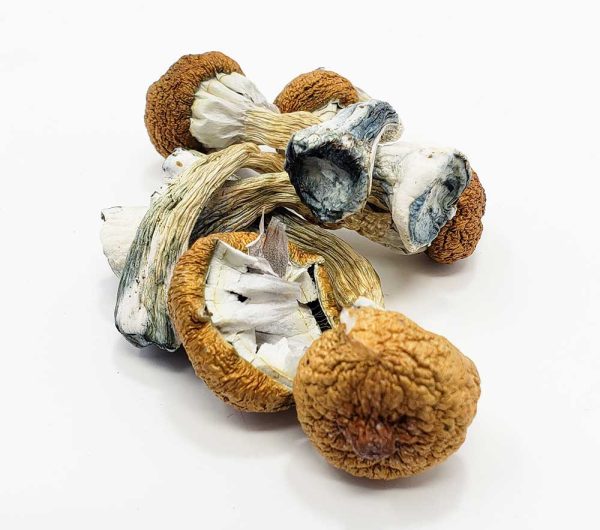
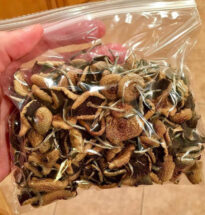
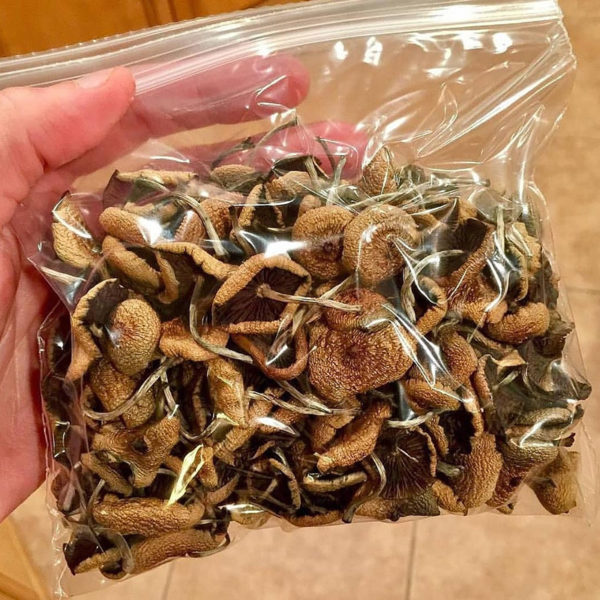
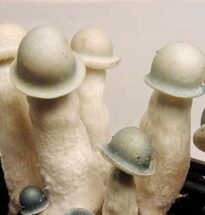
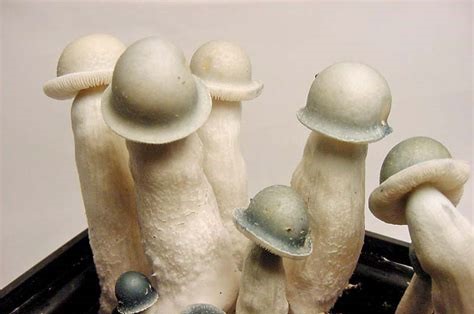
Golden Teacher Mushrooms (Psilocybe Cubensis)
Golden Teacher Mushrooms (psilocybe cubensis). The Golden teacher spores are the best psilocybe cubensis strain, among cultivators and psychonauts for years. Cultivators love the Golden Teacher spores because they grow in great flushes. Psychonauts love them because the psychedelic journey. Golden teacher trip are known to have a profound impact.
How to Grow Psilocybe Cubensis
The one thing you might have trouble getting is a good golden teacher spore syringe. This will contain your magic mushroom spores and be used to “sow” them into the substrate. Some growers have reported issues of contamination, misidentified strains, and even syringes containing nothing but water. However, as long as you do your research and find a reputable supplier, you shouldn’t have any problems.
WHAT YOU WILL NEED ?
Growing Golden Teacher Mushrooms spore you will need for following ingredients below;
- Spore syringe, 10-12 cc
- Organic brown rice flour
- Vermiculite, medium/fine
- Drinking water
And also other equipments to grow Golden Teacher Mushrooms such as;
- A canning jars
- Hammer and small nail
- Measuring cup
- Mixing bowl
- Strainer
- Heavy-duty tin foil
- Large cooking pot with a tight lid (for steaming)
- Small towel (or approx. 10 paper towels)
- Micropore tape
- Clear plastic storage box, 50-115L
- Drill with ¼-inch drill bit
- Perlite
- Mist spray bottle
- Rubbing alcohol
- Butane/propane torch lighter
- Surface disinfectant
- Air sanitiser
- Sterilise latex gloves (optional)
- Surgical mask (optional)
- Still air or glove box (optional)
NOTE: Always ensure good hygiene before starting for a healthy. Golden Teacher Mushrooms. It is very important for the golden teacher mushrooms growth: spray an air sanitiser, thoroughly disinfect your equipment and surfaces, take a shower, brush your teeth, wear clean clothes, etc. You don’t need a lot of space, but your environment should be as sterile as possible. Opportunistic bacteria and molds can proliferate in conditions for cultivating shrooms, so it’s crucial to minimise the risk.
STEP 1: PREPARATION for Golden Teacher Mushrooms
1) Prepare jars:
- With the hammer and nail (which should be wiped with alcohol to disinfect) punch four holes down through each of the lids, evenly spaced around their circumferences.
2) Prepare substrate:
- For each jar, thoroughly combine ⅔ cup vermiculite and ¼ cup water in the mixing bowl. Drain excess water using the disinfected strainer.
- Add ¼ cup brown rice flour per half-pint jar to the bowl and combine with the moist vermiculite.
3) Fill jars:
- Being careful not to pack too tightly, fill the jars to within a half-inch of the rims.
- Sterilise this top half-inch with rubbing alcohol: Golden Teacher Mushrooms
- Top off your jars with a layer of dry vermiculite to insulate the substrate from contaminants.
4) Steam sterilise:
- Tightly screw on the lids and cover the jars with tin foil. Secure the edges of the foil around the sides of the jars to prevent water and condensation from getting through the holes.
- Place the small towel (or paper towels) into the large cooking pot and arrange the jars on top, ensuring they don’t touch the base.
- Add tap water to a level halfway up the sides of the jars and bring to a slow boil, ensuring the jars remain upright.
- Place the tight-fitting lid on the pot and leave to steam for 75-90 minutes. If the pot runs dry, replenish with hot tap water.
NOTE: Some growers prefer to use a pressure cooker set for 60 minutes at 15 PSI.
5) Allow to cool:
- After steaming, leave the foil-covered jars in the pot for several hours or overnight. They need to be at room temperature before the next step.
STEP 2: INOCULATION
1) Sanitise and prepare syringe:
- Use a lighter to heat the length of your syringe’s needle until it glows red hot. Allow it to cool and wipe it with alcohol, taking care not to touch it with your hands.
- Pull back the plunger a little and shake the syringe to evenly distribute the magic mushroom spores.
NOTE: If your spore syringe and needle require assembly before use, be extremely careful to avoid contamination in the process. Sterilised latex gloves and a surgical mask can help, but the surest way is to assemble the syringe inside a disinfected still air or glove box./Golden Teacher Mushrooms
2) Inject spores:
- Remove the foil from the first of your jars and insert the syringe as far as it will go through one of the holes.
- With the needle touching the side of the jar, inject approximately ¼ cc of the spore solution (or slightly less if using a 10 cc syringe across 12 jars).
- Repeat for the other three holes, wiping the needle with alcohol between each.
- Cover the holes with micropore tape and set the jar aside, leaving the foil off.
- Repeat the inoculation process for the remaining jars, sterilising your needle with the lighter, and then alcohol between each.
STEP 3: COLONIZATION
1) Wait for the mycelium:
- Place your inoculated jars somewhere clean and out of the way. Avoid direct sunlight and temperatures outside 70-80 °F (room temperature).
- White, fluffy-looking mycelium should start to appear between seven and 14 days, spreading outward from the inoculation sites.
NOTE: Watch out for any signs of contamination, including strange colors and smells, and dispose of any suspect jars immediately. Do this outside in a secure bag without unscrewing the lids. If you’re unsure about whether a jar is contaminated, always err on the side of caution—even if the substrate is otherwise healthily colonized—as some contaminants are deadly for humans.
2) Consolidate:
- After three to four weeks u set for your Golden teacher trip, if all goes well, you should have at least six successfully colonised jars. Leave for another seven days to allow the mycelium to strengthen its hold on the substrate.
STEP 4: PREPARING THE GROW CHAMBER
1) Make a shotgun fruiting chamber:
- Take your plastic storage container and drill ¼-inch holes roughly two inches apart all over the sides, base, and lid. To avoid cracking, drill your holes from the inside out into a block of wood.
- Set the box over four stable objects, arranged at the corners to allow air to flow underneath. You may also want to cover the surface under the box to protect it from moisture leakage.
NOTE: The shotgun fruiting chamber is far from the best design, but it’s quick and easy to build and does the job well for beginners. Later, you may want to try out alternatives.
2) Add perlite:
- Place your perlite into a strainer and run it under the cold tap to soak.
- Allow it to drain until there are no drips left, then spread it over the base of your grow chamber.
- Repeat for a layer of perlite roughly 4-5 inches deep.
STEP 5: FRUITING OF Golden Teacher Mushrooms
1) “Birth” the colonized substrates (or “cakes”):
- Open your jars and remove the dry vermiculite layer from each, taking care not to damage your substrates, or “cakes”, in the process. Golden teacher trip
- Upend each jar and tap down onto a disinfected surface to release the cakes intact.
2) Dunk the cakes:
- Rinse the cakes one at a time under a cold tap to remove any loose vermiculite, again taking care not to damage them.
- Fill your cooking pot, or another large container, with tepid water, and place your cakes inside. Submerge them just beneath the surface with another pot or similar heavy item.
- Leave the pot at room temperature for up to 24 hours for the cakes to rehydrate.
3) Roll the cakes:
- Remove the cakes from the water and place them on a disinfected surface.
- Fill your mixing bowl with dry vermiculite. Golden teacher trip
- Roll your cakes one by one to fully coat them in vermiculite. This will help to keep in the moisture.
4) Transfer to grow chamber:
- Cut a tin foil square for each of your cakes, large enough for them to sit on without touching the perlite.
- Space these evenly inside the grow chamber.
- Place your cakes on top and gently mist the chamber with the spray bottle.
- Fan with the lid before closing.
5) Optimize and monitor conditions:
- Mist the chamber around four times a day to keep the humidity up, taking care not to soak your cakes with water.
- Fan with the lid up to six times a day, especially after misting, to increase airflow.
NOTE: Some growers use fluorescent lighting set on a 12-hour cycle, but indirect or ambient lighting during the day is fine. Mycelium only needs a little light to determine where the open air is and where to put forth mushrooms.
STEP 6: HARVESTING Golden Teacher Mushrooms
1) Watch for fruits:
- Your Golden Teacher Mushrooms will appear as tiny white bumps before sprouting into “pins.” After 5-12 days, they’ll be ready to harvest.
2) Pick your fruits:
- When ready, cut your mushrooms close to the cake to remove. Don’t wait for them to reach the end of their growth, as they’ll begin to lose potency as they mature.
NOTE: The best time to harvest golden teacher mushrooms is right before the veil breaks. At this stage, they’ll have light, conical-shaped caps and covered gills. Golden teacher trip


Reviews
There are no reviews yet.